Check out these ideas from our friends at Houzz to help you refresh the kitchen space without splurging on a whole new kitchen.
Investing in a new kitchen can be costly and involves an awful lot of upheaval. Instead of embarking on a huge project, consider these snappy ideas and indulge in a little low-stress kitchen refreshment.
1. Make a feature of cabinet hardware.
It’s not always possible to change hardware or without leaving unsightly marks on the doors, but if you have the option, a new set of knobs or pulls can give your kitchen a fresh look.
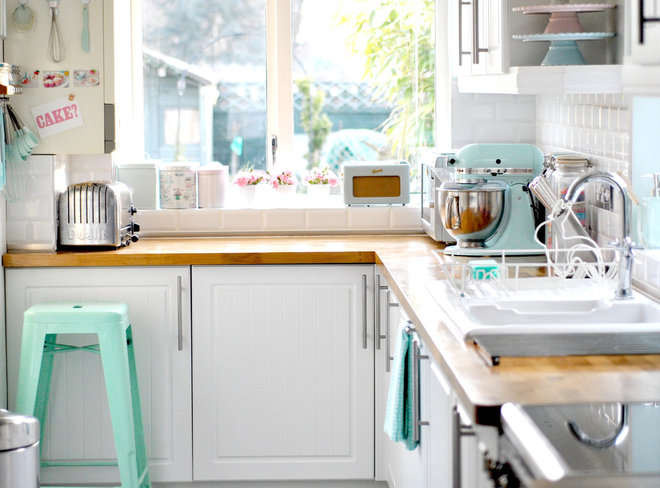
Here, the turquoise knobs add a quirky element to the plain white cabinets and tie in perfectly with the patterned tile backsplash.
2. Renew your countertop.
The tone of your kitchen can be changed completely with a different work surface. You might like to upgrade from laminate to wood, stone or a solid surface. Alternatively, you could just swap in a laminate in a different color.
Think about the light in your kitchen, and whether it would help to go darker as a contrast or lighter to brighten the room. Most granite and quartz suppliers will make a template and fit the countertop for you. All you’ll need to do is remove the old surface and order the new one. It’s important to provide an even and well-supported base for heavy slabs, so check with your supplier on the installation requirements.
Even the simplest-to-fit laminate surfaces need the right tools for the job, so if you’re planning to tackle the installation yourself, make sure you have the appropriate equipment to make joins and cuts. Or call in a professional to do the job for you.
3. Spruce up your window treatments.
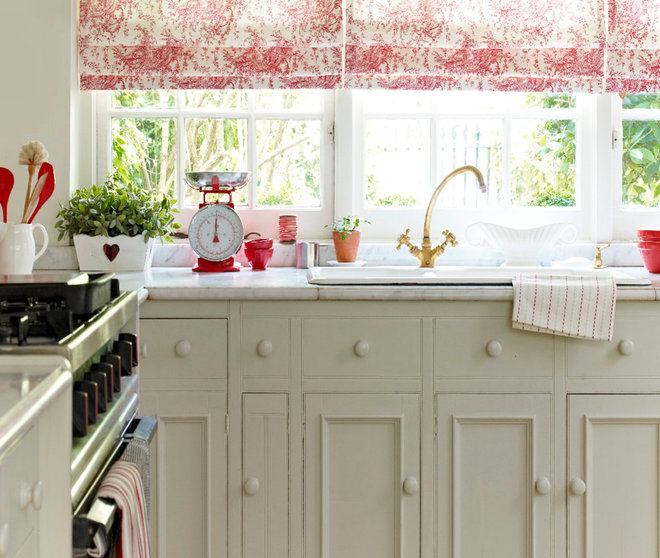
Take a quick look at your kitchen windows and ask yourself whether those curtains have seen better days. Why not refresh your space by bringing in pattern and color with a new Roman blind, like these red-and-white toile ones?
Alternatively, consider updating to a
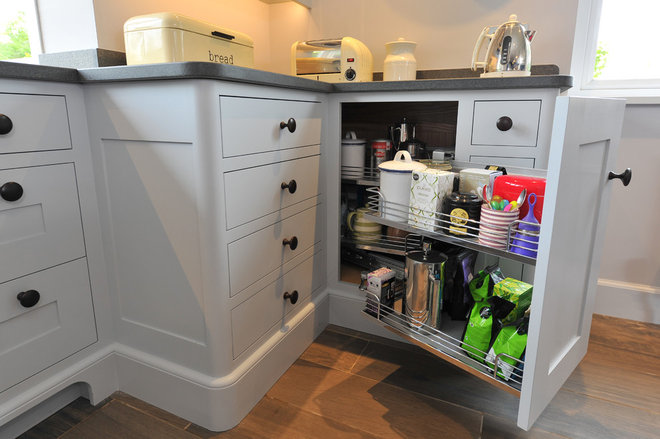
4. Integrate some nifty storage mechanisms.
Corner cabinets are notoriously hard to access, especially those that have a door on one side only. However, some systems can make it much easier.
Most of them consist of shelves or racks that are fitted on separate rails and are pulled in and out as the door opens. Here, the shelves sit next to each other inside the cabinet, then slide forward smoothly when the door is pulled out.
It’s possible to add a system after the kitchen is installed, and
5. Splash on the paint.
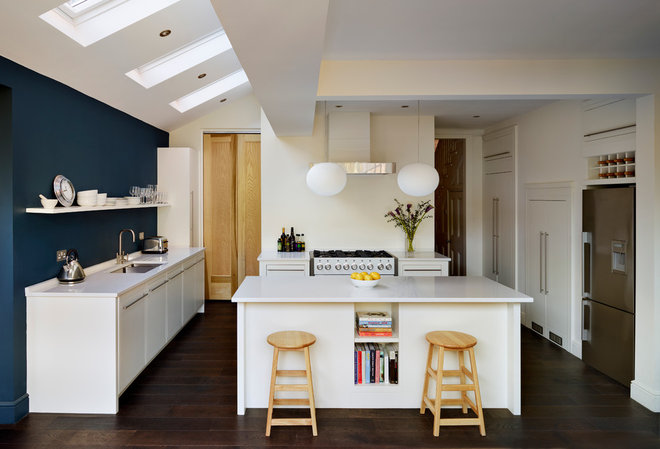
One of the easiest ways to update your kitchen is to introduce a new color on the walls. Bold, dark shades, like the moody blue seen here, work well as a contrast against white cabinets. For maximum effect, these homeowners have taken the color right down to the baseboard.Alternatively, a bright yellow or orange can liven things up considerably. Often painting just one wall will be enough to revamp the room.
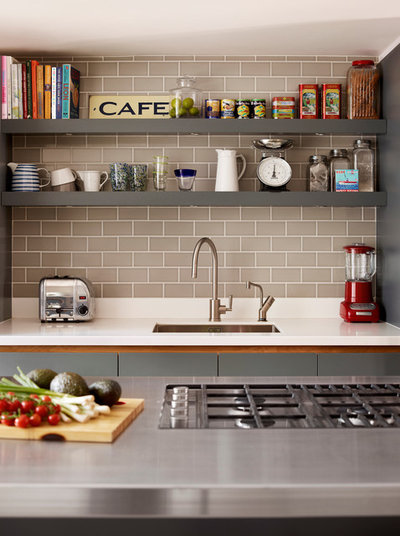 6. Install a shelf.
If you have space on your kitchen walls, consider putting up one or two shelves. They would be the ideal place to house items that are cluttering the work surface, or to display attractive tins, potted herbs or beautiful crockery.Make sure your shelves and hardware are strong enough to take the weight of the items you wish to display. Some floating shelves, for example, can’t take the weight of cookbooks or bowls. Look for interesting brackets, such as ones made from old pipes, which can give a room a striking industrial focal point.
Alternatively, if you have unused shelving elsewhere in the house, a coat of paint could help it fit in with the rest of the kitchen.
7. Regrout the tiles.
Kitchen surfaces are prone to splatters and grime, and while tiles themselves are easy to wipe clean, the grouting around them tends to hold on to stains in a most unattractive manner. In fact, someone once observed to me, “I’m surprised they don’t do an orange grout and cut to the chase.”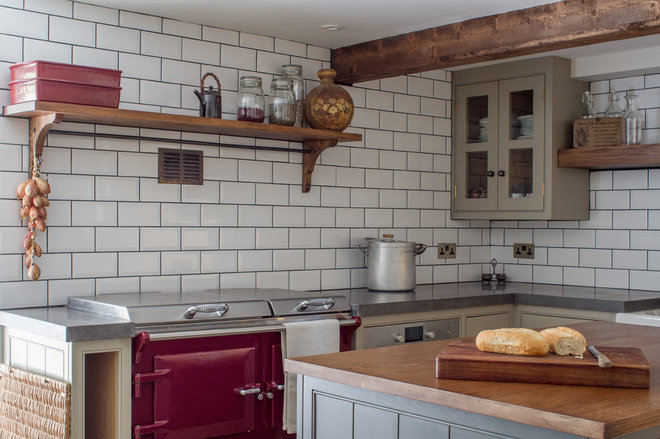
If your grout is looking shabby, it may be worth regrouting. You could choose a fresh white or go for something more forgiving, such as an on-trend grey.
The process is not too complicated but involves carefully scraping out the old grout, applying the new and then wiping the tiles clean. There are even antibacterial grouts on the market, which are said to stay whiter longer.
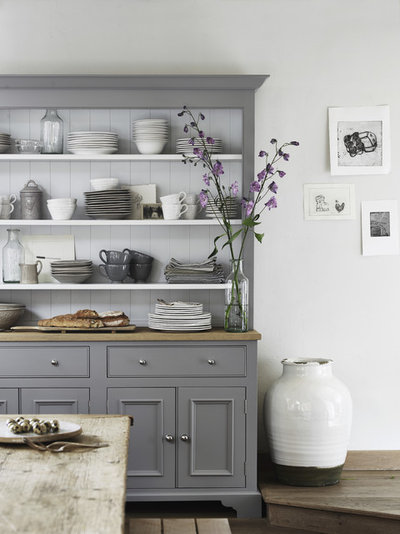
8. Reassess how you use your storage.
Sometimes reorganizing can be just as refreshing as introducing new elements to your kitchen. A really useful method of doing this is by reclassifying what you have.I tend to group items by use — cutlery, mugs, saucepans, baking ingredients, cereal boxes and so on. Then I look at how they’re being stored right now, and whether that’s the most accessible or practical place for them.
Anything on the heavy side shouldn’t really be stored up high, as it’s so much harder to take those items down safely. Big bowls,
Maybe you have spices jumbled on a shelf in an upper cabinet. How about moving them into a drawer where they can easily be seen and won’t waste as much space?
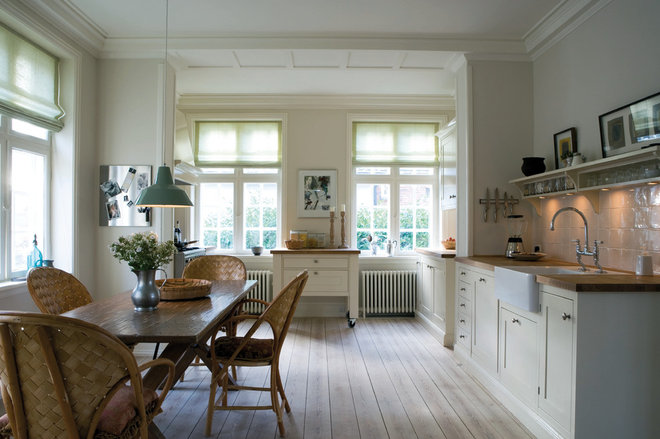
9. Wheel in a cart.
If it’s more countertop space you’re after, a superb flexible solution is a cart with casters. Perfect for a little more chopping space, it can be moved around the kitchen, and even offers additional storage space beneath it.
You don’t have to get it to match your existing cabinets — there are numerous designs available. A popular choice is
10. Update your kitchen linens.
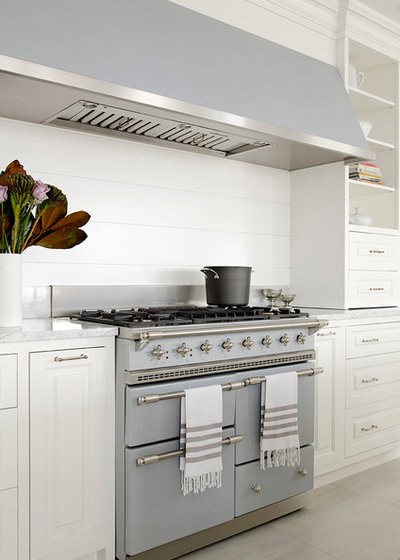
A spot check of most tea towel collections will reveal at least one souvenir from friends or relatives (ours include Australia and Mallorca), and a motley assortment of colors and designs.
Task yourself with a kitchen linen revamp, and choose some new towels and
11. Add an armchair.
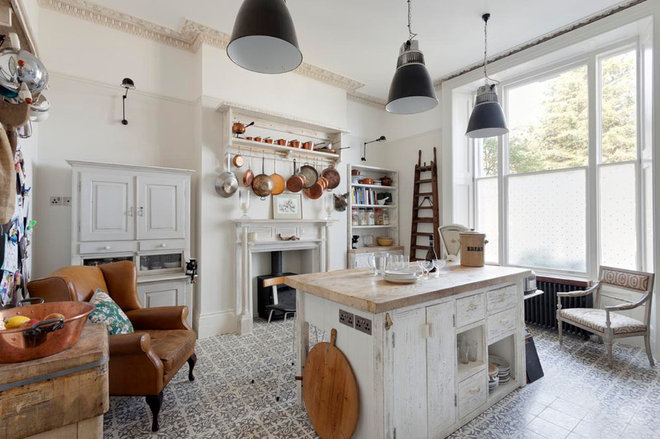
There’s no reason why you have to stick to hard and upright seating in the kitchen. It’s fun to play with convention, so if you have
It’s probably not wise to introduce expensive or delicate fabrics into the atmosphere of a kitchen, so consider something more forgiving. Incongruous as an armchair may seem in a kitchen, this sort of feature furniture could end up being a highlight of the room.
BONUS TIP: Add Under Cabinet Lighting.
Quality under cabinet fixtures
There are
Click Here to view original article authored by Katie Level, Houzz Contributor.

